Introduction to Red Velvet Cookie Bars
The Delightful World of Red Velvet
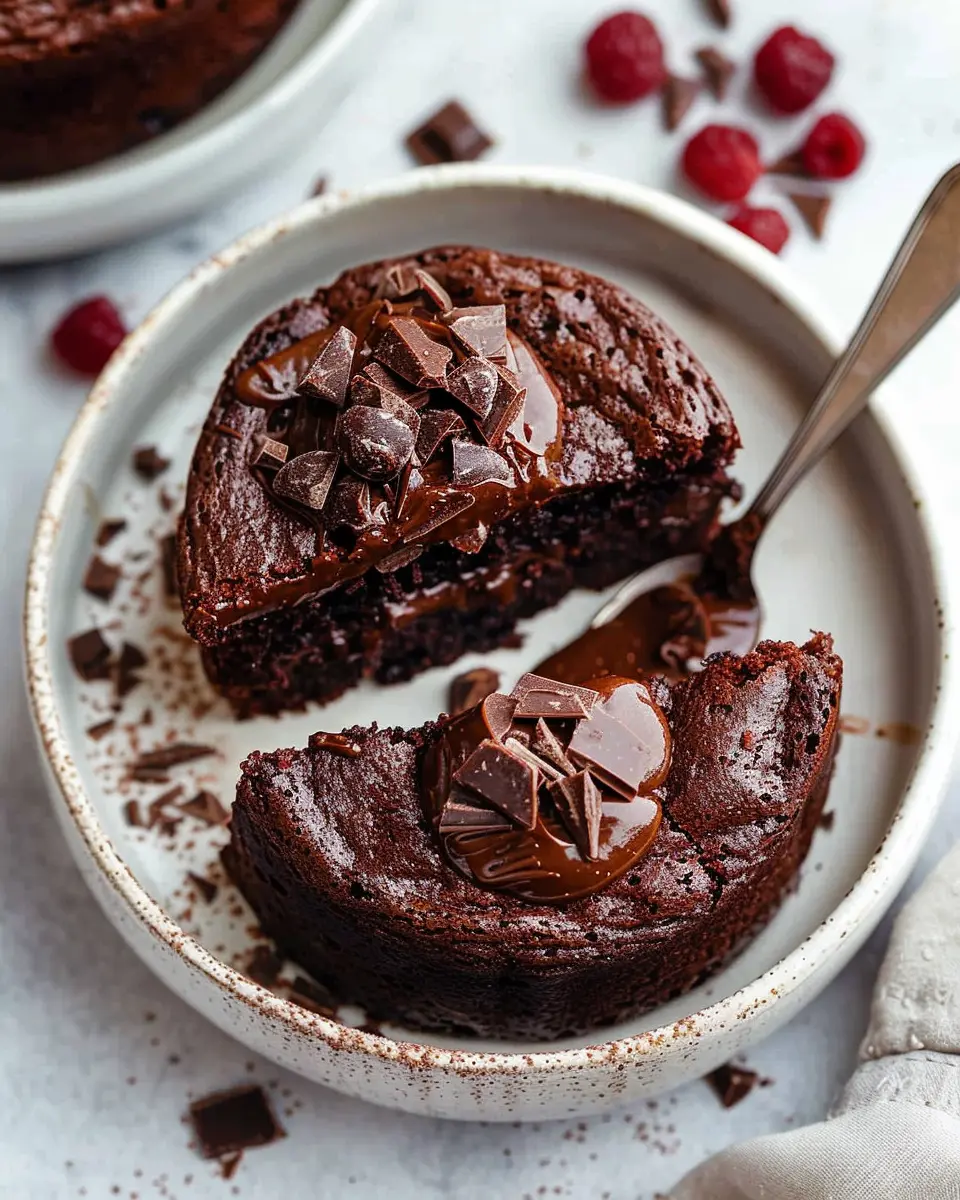
Have you ever felt that irresistible pull toward beautifully baked treats? Red velvet cookie bars are an absolute game-changer in the dessert world. They bring together the best qualities of chewy cookies and decadent cake, making them an all-time favorite for many. But what is it about red velvet that captivates our taste buds?
Originating from the classic red velvet cake, this flavor has transitioned into countless variations, including brownies and now cookie bars, keeping things fresh and exciting. The striking red hue combined with a hint of cocoa creates a unique flavor profile that’s both rich and subtly tangy due to the inclusion of buttermilk. If you’ve never tried making red velvet desserts, you’re in for an indulgent treat!
The vibrant color and buttery texture aren’t the only reasons to fall in love with red velvet cookie bars. According to a survey by The American Bakers Association, red velvet has surged in popularity, becoming a top choice for birthdays, holidays, and celebrations. As young professionals looking for creative ways to impress in the kitchen, these cookie bars become an invaluable addition to your repertoire.
You’ll find that these treats are perfect for sharing with friends or enjoying with a cozy cup of coffee after a long day. Plus, they can easily be prepped ahead of time, making them a flexible dessert option for those busy weeknights.
So, how do you create your very own red velvet cookie bars? The best part is that they require relatively simple ingredients—things you probably already have in your pantry! From a splash of food coloring to the perfect blend of flour and cocoa, you’ll be amazed at how easily these bars come together.
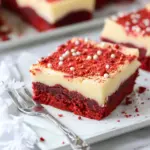
In the following sections, we’ll break down the recipe for you step-by-step, and I promise you’ll feel like a baking pro in no time. Just imagine cutting into those gooey bars, revealing a soft, chewy center surrounded by a slightly crisp edge. Are you ready to add these delightful treats to your dessert list? Let’s dive in!
Ingredients for Red Velvet Cookie Bars
Making delicious red velvet cookie bars is easier than you might think! Gather these key ingredients for a scrumptious treat that’s sure to impress at your next gathering or simply satisfy your sweet tooth.
Essential Ingredients
- All-purpose flour: 2 cups, for that perfect chewy texture.
- Cocoa powder: 2 tablespoons, giving a subtle chocolate flavor.
- Granulated sugar: 1 cup, to sweeten the bars just right.
- Brown sugar: 1/2 cup, adding a hint of molasses richness.
- Unsalted butter: 1/2 cup, melted, creating a buttery foundation.
- Egg: 1 large, for structure and moisture.
- Red food coloring: 2 tablespoons, the star of the show!
- Vanilla extract: 1 teaspoon, enhancing all the flavors.
- Baking soda: 1 teaspoon, for that perfect rise.
- Salt: 1/4 teaspoon, balancing out the sweetness.
- White chocolate chips: 1 cup, to take your red velvet cookie bars to the next level.
With these simple yet essential ingredients, you’re well on your way to baking up something extraordinary! Want to learn more about the science behind baking? Check out this detailed guide on ingredient roles. Happy baking!
Preparing Red Velvet Cookie Bars
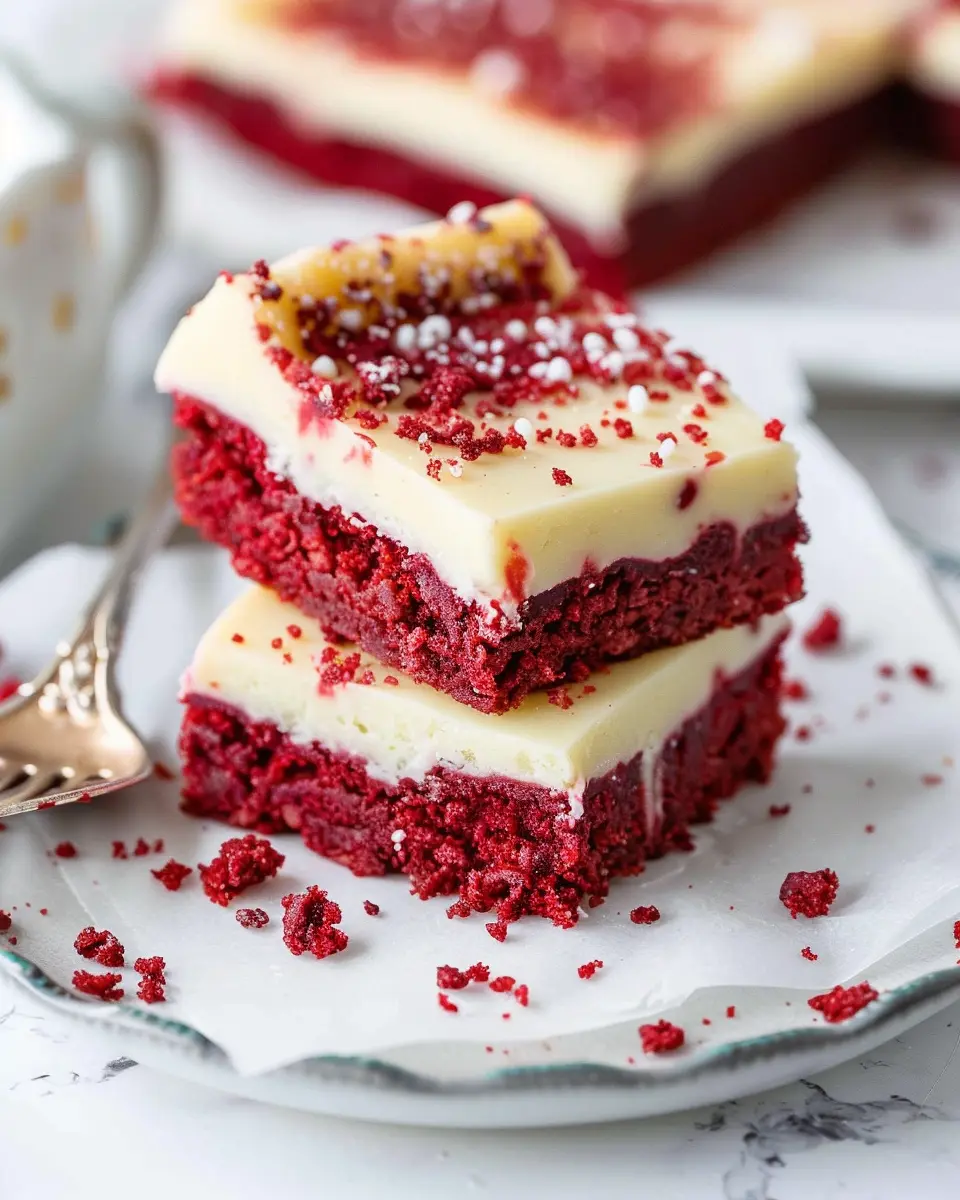
Are you ready to indulge in the rich, velvety goodness of red velvet cookie bars? These treats are not just visually striking; they’re also packed with flavor and the perfect dessert for any occasion. Let’s walk through the process together, step-by-step, so you can whip up your batch with ease and confidence.
Gather Your Ingredients
The foundation of any great recipe lies in its ingredients. Here’s what you’ll need to prepare your red velvet cookie bars:
- 2 ½ cups all-purpose flour
- 1 teaspoon baking soda
- 1 teaspoon cocoa powder (unsweetened)
- ½ teaspoon salt
- 1 cup unsalted butter, softened
- 1 cup granulated sugar
- ½ cup brown sugar, packed
- 2 large eggs
- 1 tablespoon red food coloring
- 1 teaspoon vanilla extract
- 1 cup white chocolate chips (optional, but recommended for extra sweetness)
It’s always a good practice to have everything measured out before you dive into baking; it makes the process smoother and more enjoyable! You might want to check out King Arthur Baking for tips on ingredient quality.
Whisk the Dry Ingredients
In a large bowl, start by whisking together the dry ingredients: flour, baking soda, cocoa powder, and salt.
- Pro Tip: Always sift your dry ingredients if possible. This helps avoid lumps and distributes the baking soda evenly, leading to a lighter texture in your red velvet cookie bars.
Set this mixture aside for now, as it will be combined later with the wet ingredients.
Cream the Butter and Sugars
In another bowl, beat your softened butter, granulated sugar, and brown sugar together.
- Consistency Check: Creaming is all about achieving a light and fluffy texture. Use a hand mixer or stand mixer on medium speed for about 3-5 minutes.
This step incorporates air into your dough, creating a chewy and delightful cookie bar. You may find inspiration on these techniques at Serious Eats to master your creaming skills.
Combine Wet Ingredients
Now it’s time to add your eggs, red food coloring, and vanilla extract to the creamed mixture.
- Visual Appeal: The vibrant color of the red food coloring not only adds to the aesthetic but also contributes to the joy of baking. You’ll be amazed at how beautiful the dough becomes!
Mix on medium speed until everything is well combined.
Mix it All Together
Gradually add your flour mixture to the wet ingredients, mixing gently until just combined.
- Suggestion: At this stage, if you’re opting for the white chocolate chips, fold them in gently. The contrasting color and flavor will elevate your red velvet cookie bars to a whole new level.
Be careful not to overmix to keep those bars soft and delectable.
Bake to Perfection
Preheat your oven to 350°F (175°C) and prepare a baking pan by greasing it or lining it with parchment paper.
Pour your batter into the pan and spread it evenly. Bake for about 25-30 minutes or until a toothpick inserted into the center comes out clean.
- Doneness Tip: Keep an eye on the bars in the last five minutes of baking. Every oven is different, and you want to catch them while they’re perfectly set without overbaking.
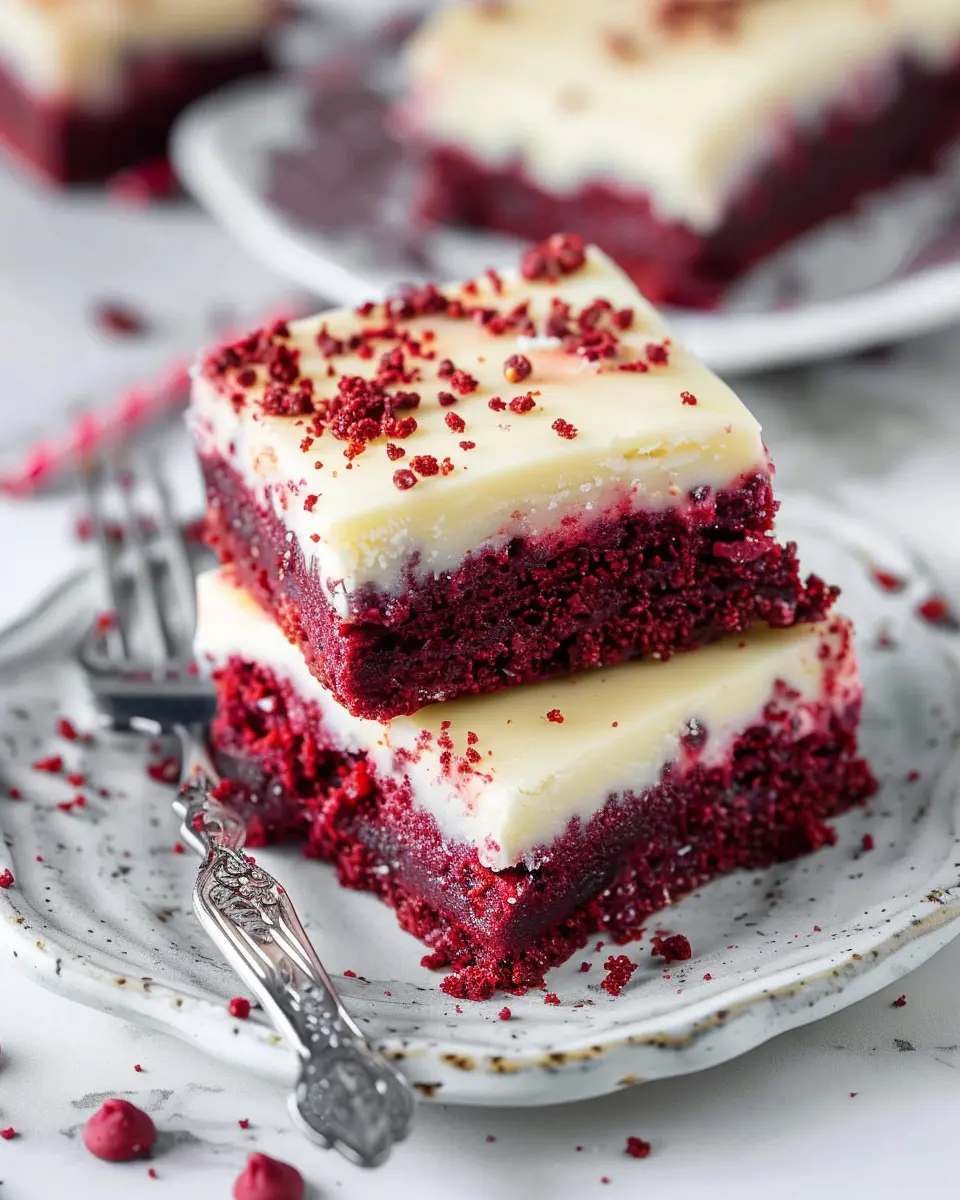
Once out of the oven, allow the cookie bars to cool completely in the pan before cutting them into squares. If you want to take your red velvet cookie bars to the next level, drizzle with a simple cream cheese glaze or serve warm with a scoop of vanilla ice cream.
Now that you’ve prepared these delicious treats, it’s time to enjoy them with friends or save some for yourself. Happy baking!
Variations on Red Velvet Cookie Bars
Vegan Red Velvet Cookie Bars
Who says you can’t have rich and luscious red velvet cookie bars without using animal products? Going vegan doesn’t mean sacrificing flavor or texture. For a vegan twist on this classic treat, substitute traditional butter with coconut oil or vegan butter. Use a flaxseed meal mixed with water as an egg substitute—this mixture creates a delightful binding effect and provides a subtle nuttiness. You can opt for almond milk or oat milk instead of dairy for a creamy touch.
Add vegan chocolate chips for that extra indulgence. The rich, pink hue of these cookie bars comes from natural red food coloring or plant-based alternatives like beet juice, keeping it wholesome and vibrant. Curious about more vegan baking tips? Check out this ultimate guide to vegan substitutes.
Gluten-Free Red Velvet Cookie Bars
If you’re looking for a gluten-free version of red velvet cookie bars, it’s easier than you think! Simply swap all-purpose flour with a gluten-free blend, ensuring it contains a good balance of starches and protein. Almond flour or oat flour can also provide an interesting twist while adding flavor and texture.
Don’t forget to double-check your baking powder for gluten-free status. For a special touch, fold in crushed nuts or gluten-free sprinkles to celebrate any occasion. Truly, adapting recipes to meet dietary needs should never compromise taste. Still curious about gluten-free baking tips? The experts over at Celiac Disease Foundation have fantastic resources for beginners and advanced bakers alike.
Variations like these not only make red velvet cookie bars accessible but also ensure everyone can enjoy a delicious treat!
Baking Tips and Notes for Red Velvet Cookie Bars
Baking red velvet cookie bars can be both delightful and rewarding! Here are some tips to ensure your bars turn out perfectly every time.
Choose the Right Ingredients
- Quality Cocoa Powder: Use a high-quality cocoa powder to enhance the chocolate flavor. This can make a world of difference in your dessert.
- Real Butter: Always opt for unsalted real butter. It gives your cookie bars that rich, luscious texture that margarine just can’t match.
Mixing It Up
- Avoid Overmixing: When combining the ingredients, mix until just combined. This helps keep your bars soft and chewy.
- Room Temperature Ingredients: Make sure your eggs and butter are at room temperature. This ensures better emulsification, leading to a more consistent batter.
Baking Tips
- Use Parchment Paper: Line your baking pan with parchment paper for easy removal. This allows you to cut your red velvet cookie bars cleanly once they cool.
- Check for Doneness: Use a toothpick to check if they’re done. It should come out with a few moist crumbs, not wet batter.
For even more tips, check out this guide on baking fundamentals. Enjoy your baking adventure!
Serving Suggestions for Red Velvet Cookie Bars
When it comes to enjoying red velvet cookie bars, the right accompaniments can elevate their delightful flavor even more. Whether you’re hosting a gathering or just indulging on a cozy evening, consider these delicious serving suggestions:
Pairing Options That Shine
-
Cream Cheese Frosting Drizzle: Add a touch of sweetness with a simple cream cheese frosting drizzle on top. It complements the red velvet flavor perfectly!
-
A Scoop of Vanilla Ice Cream: Warm cookie bars topped with a scoop of vanilla ice cream create a delightful contrast. The creaminess balances the richness of the bars beautifully.
-
Fresh Berries: Serve alongside strawberries or raspberries for a refreshing contrast. Their tartness cuts through the sweetness, making for a balanced dessert experience.
Creative Serving Ideas
-
Personalized Dessert Plates: Cut the cookie bars into smaller squares and arrange them on individual dessert plates. This adds a touch of finesse to your serving style.
-
Gifts for Friends: Pack these cookie bars in a cute box with a handwritten note. Ideal for sharing with friends, this sweet gesture can make someone’s day.
Beverage Pairings
- Herbal Tea: A light cup of chamomile or peppermint tea can serve as a soothing accompaniment.
These red velvet cookie bars aren’t just a treat; they’re a canvas for flavor exploration. What unique pairings will you try?
Tips for Making Perfect Red Velvet Cookie Bars
Creating red velvet cookie bars that are both delicious and visually stunning is easier than you think! Here are a few tips to help you nail this recipe.
Choose Quality Ingredients
Opt for high-quality cocoa powder and butter — these are essential for achieving that rich flavor. Your cookie bars will be better if you invest a little more in your ingredients, making a delicious difference. Also, using gel food coloring gives a more vibrant hue compared to liquid food coloring, so keep that in mind when shopping.
Mind the Mixing Process
As with any baked good, avoid overmixing once you add the dry ingredients. Overmixing can lead to tougher cookie bars. Mix just until the dry ingredients are incorporated. The dough should be soft and slightly sticky.
The Right Baking Time
Keep an eye on your red velvet cookie bars as they bake! Every oven is different, so start checking a couple of minutes before the recipe suggests. You want them to be soft in the center but not gooey.
Don’t Skip the Cream Cheese Frosting
Frosting can elevate any dessert, and for red velvet, it’s essential. Ensure your cream cheese is at room temperature for that beautiful swirl. Want a little crunch? Consider adding crushed nuts or sprinkles on top!
For more great baking tips, check out King Arthur Baking and Serious Eats for insights from experts.
With these tips, you’re set to impress your family and friends with your homemade red velvet cookie bars!
Time Details for Red Velvet Cookie Bars
Preparation Time
Getting ready to bake your red velvet cookie bars is half the fun! You’ll need about 15 minutes to gather your ingredients, mix the dough, and get everything prepped just right. Just imagine the anticipation as the vibrant red batter comes together.
Baking Time
Once your dough is ready, it’s time for the oven! Bake your red velvet cookie bars for 20–25 minutes. You’ll know they’re done when the edges are slightly crispy and the center looks set.
Total Time
In total, you’re looking at roughly 35–40 minutes from start to finish. That’s a small commitment for such a delicious treat! Just think; with minimal effort, you’ll be rewarded with gooey, rich cookie bars perfect for sharing—or not! If you want to dive deeper into baking techniques, consider checking out this fantastic baking blog for tips and tricks to level up your skills.
Nutritional Information for Red Velvet Cookie Bars
When you indulge in red velvet cookie bars, it’s good to know what you’re treating your body to. Let’s break it down:
Calories
These delightful bars come in at around 200 calories each. This makes them a perfect little treat to satisfy your sweet tooth without overindulging.
Sugar Content
With roughly 15 grams of sugar per bar, it’s important to enjoy them in moderation. This sweet treat is meant to be savored, not gobbled down in bulk!
Fat Content
Each cookie bar contains approximately 8 grams of fat, providing richness and flavor. Keep in mind that some of this comes from butter, which contributes to that luscious texture we all love.
For more information on healthy dessert options, check out Healthline for tips on balancing sweetness with nutrition! Enjoy your baking!
FAQs About Red Velvet Cookie Bars
Can I make these cookie bars without food coloring?
Absolutely! While red velvet cookie bars are famously known for their vibrant hue, you can omit the food coloring without compromising the taste. For a more natural approach, consider using beet juice or cocoa powder to maintain some color. Just remember, the signature taste originates from the combination of cocoa powder and a hint of vinegar. So even without the vivid color, you’ll still enjoy that delicious flavor!
How should I store leftover cookie bars?
Storing red velvet cookie bars is pretty straightforward. After they have cooled completely, cover them in an airtight container. For optimal freshness, they can be kept at room temperature for up to three days. If you need to store them longer, pop them in the refrigerator, where they will last for about a week. Just make sure you allow them to come to room temperature before serving for that chewy, delightful texture!
What’s the best way to frost my cookie bars?
When it comes to frosting red velvet cookie bars, cream cheese frosting is the classic choice that pairs beautifully with the flavors. For a smooth application, ensure your frosting is at room temperature. Start by dabbing a few spoonfuls onto the center of the bars and use a spatula to spread it evenly. If you’re feeling creative, you can even drizzle some chocolate ganache or sprinkles on top for an extra festive touch!
For more tips on frosting techniques, visit Wilton’s Guide to Frosting.
By addressing these common FAQs, you’re well on your way to mastering red velvet cookie bars that will impress your friends and family alike!
Conclusion on Red Velvet Cookie Bars
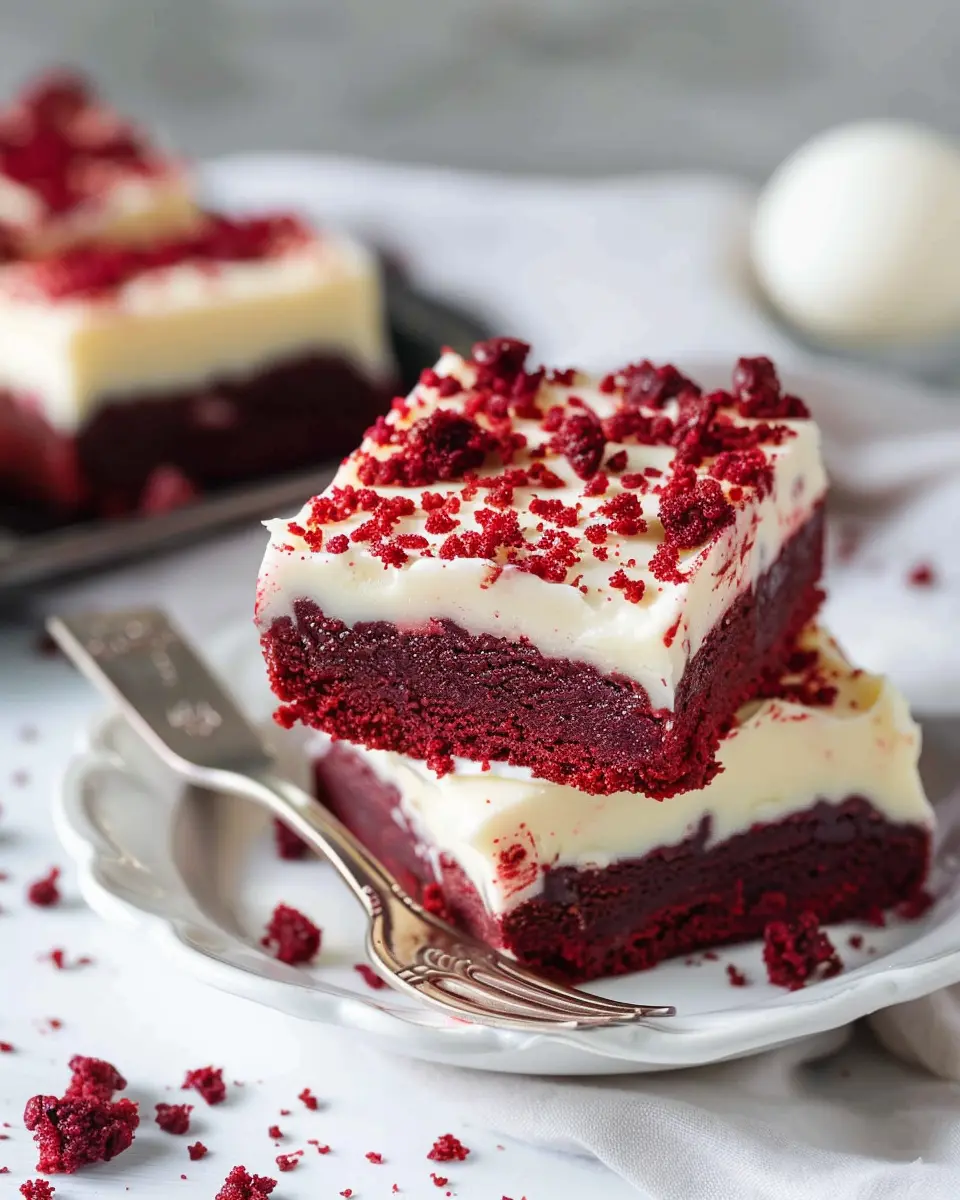
In summary, red velvet cookie bars are a delightful treat that beautifully combines the classic flavors of red velvet cake with the chewy goodness of cookie bars. Perfect for gatherings, casual snacking, or special occasions, these bars are not only visually stunning but also irresistibly tasty.
Whether you’re a novice baker or a seasoned pro, this recipe promises a simple yet rewarding experience. And if you’re eager to make them your own, consider experimenting with add-ins like white chocolate chips or nuts for a unique twist. If you enjoyed this recipe, check out more baking ideas on Sally’s Baking Addiction and The Pioneer Woman. Happy baking!
PrintRed Velvet Cookie Bars: Indulgent Treats for Home Bakers
Indulge in these delicious red velvet cookie bars that are perfect for any occasion.
- Prep Time: 15 minutes
- Cook Time: 30 minutes
- Total Time: 45 minutes
- Yield: 24 cookie bars 1x
- Category: Dessert
- Method: Baking
- Cuisine: American
- Diet: Vegetarian
Ingredients
- 1 cup unsalted butter
- 1 cup granulated sugar
- 2 large eggs
- 2 tablespoons red food coloring
- 2 cups all-purpose flour
- 1 tablespoon cocoa powder
- 1 teaspoon baking soda
- 1 teaspoon vanilla extract
- 1/2 teaspoon salt
- 1 cup white chocolate chips
Instructions
- Preheat the oven to 350°F (175°C).
- In a large bowl, cream together the butter and sugar until smooth.
- Add eggs one at a time, mixing well after each addition.
- Stir in red food coloring and vanilla extract.
- In another bowl, mix together the flour, cocoa powder, baking soda, and salt.
- Gradually add the dry ingredients to the wet mixture.
- Fold in white chocolate chips.
- Spread the dough into a greased baking pan.
- Bake for 25-30 minutes or until a toothpick comes out clean.
- Allow to cool before cutting into bars.
Notes
- For an extra touch, try adding cream cheese frosting on top.
- These cookie bars can also be served warm with ice cream.
Nutrition
- Serving Size: 1 bar
- Calories: 250
- Sugar: 15g
- Sodium: 150mg
- Fat: 12g
- Saturated Fat: 7g
- Unsaturated Fat: 3g
- Trans Fat: 0g
- Carbohydrates: 35g
- Fiber: 1g
- Protein: 2g
- Cholesterol: 40mg
Keywords: Red Velvet Cookie Bars, cookies, indulgent treats